Donor's Year-End Statement
Published: August 2020 / Updated: January 6, 2023 by Janet Bargewell, GiveDirect Support
Three Things to Keep In Mind
The Donor Year-End Statement consists of an email letter and an attachment listing all transactions for the year. Both are customizable using the built-in content editors.
When preparing your statements, here are three things to keep in mind.
-
Professionalism and accuracy are a must
- Include your logo for branding and recognition.
- Include your contact information in case your donors have questions.
- Proofread your letter carefully for spelling and grammar.
- Send yourself a Test Email first to ensure that everything is correct.
-
Send a Statement even if you're not required to
If you acknowledge gifts as they are received throughout the year, then you're not required to send an annual statement. However, sending a year-end summary with a "thank you for your support" letter will help reinforce relationships with donors and build their trust in your organization.
-
Batch Sending or Individual Sending
You can send the Year-End Summary Report in a batch to all donors at once, or to an individual donor. Use the search field at the top of the donor list to find a donor by name or email.
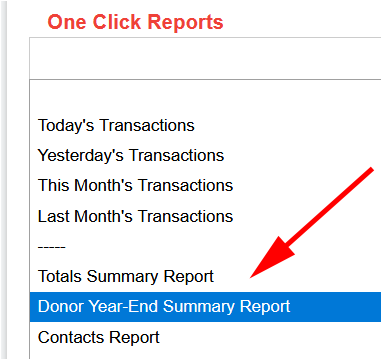
Where Can I Find The Report?
Go to One Click Reports in your control panel and select Donor Year-End Summary Report.
Step 1: Customize the Letter
The year-end statement uses a standard template by default. You can customize or change the standard template by using the content editor.

In addition to the standard text formatting options, you can customize your letter with the following options:


Step 2: Customize the Attachment
The attachment is a PDF document sent with the email that displays the contributor's complete list of transactions for the year. The top portion of the attachment can be customized.
Just like the letter, use the content editor to make changes to the pre-set template, if desired.
The content editor for the attachment has fewer options, but you may add links, images, and merge fields.
Step 3: Preview and Send a Test Email
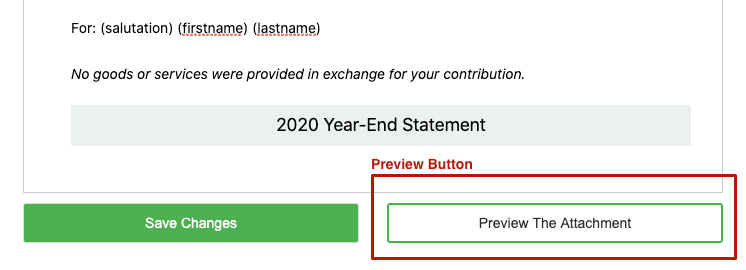
At the bottom of each content editor is a Preview Button. You can preview your changes to the email letter or to the attachment as many times as needed before sending.
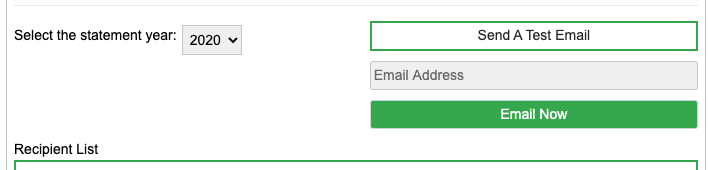
Before sending a statement, we highly recommend sending yourself a test email. In Step 3, just above the Recipient list, you will see a Test Email button. Enter an email address of your choice and click Send.
Step 4: Sending the Statement
Send a year-end statement to all of your donors at once using the Batch Send option or send statements only to those contributors who request one using the Send Individually option.
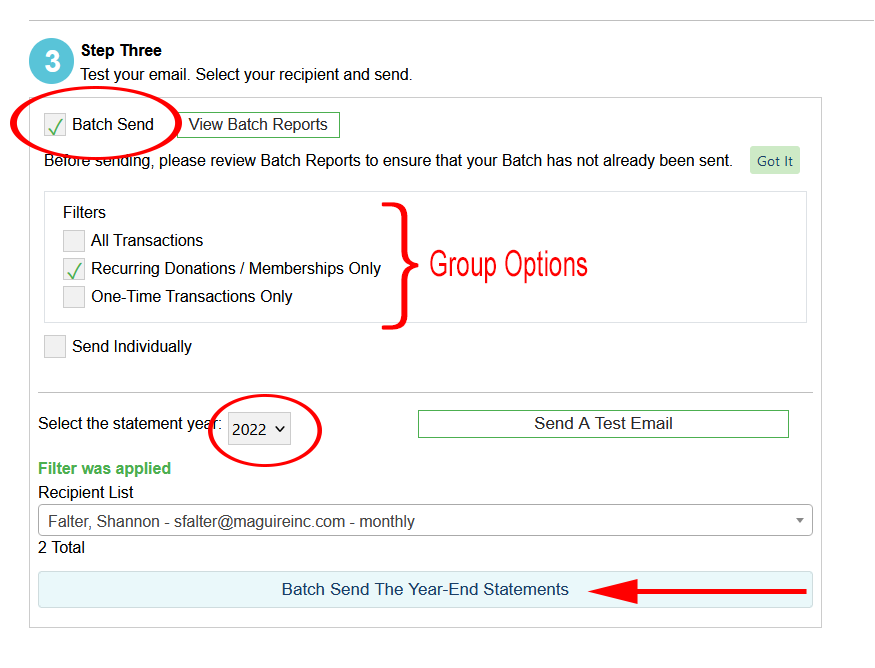
To send a Batch
- Click the Batch Send checkbox
- Determine the group options (all, recurring or one-time)
- Ensure that the correct statement year is selected
- Click the Batch Send button
Determining the group option: If you select "Recurring Donations/Memberships Only", the statement will be prepared ONLY for payments processed on a recurring frequecy. One-time gifts will not be included. A separate statement for non-recurring payment will need to be generated and sent.
If "All Transactions" is selected, everything a donor does during the year is included in the statement - recurring, one-time, events, payments, etc.
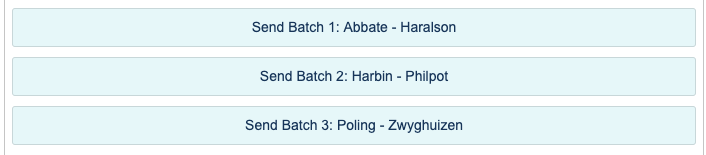
If you have more than 500 contributors for the year, your Batch Send will be split into multiple batches of 500 email addresses each. You will see a button for each batch.
Once the batch has finished, you will see a success message, along with a report to download. The report will show you each person that was sent in the batch and whether the email was sent successfully or failed. These reports are also stored for your reference and can be viewed anytime by clicking View Batch Reports next to the Batch Send checkbox in Step 3.

To Send a Single Statement
Check the Send Individually checkbox and ensure that the correct statement year is selected.

Next, click in the Recipient list. You can scroll through the list to find your recipient, or use the search box at the top of the list to search by name or email address.
Find and select your recipient and click the "Send the Email With Attachment" button.
Once the email has finished sending, you will see a Success message. No report function is available for individual statements.

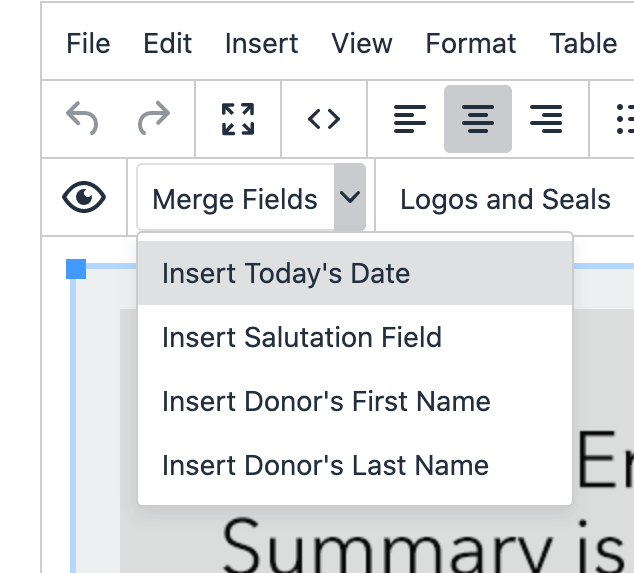
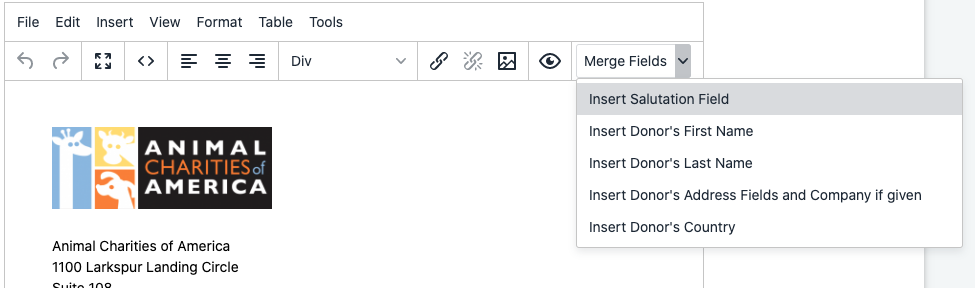
More about Merge Fields
Merge fields are things like the date, your donor's first name and last name, and salutation. Use the Merge Fields to personalize your letter, i.e., Dear Caroline, Dear Mr. Rutherford, Greetings Mr. and Mrs. Larry Upton.
The letter template will look something like this:
"(firstname), thank you for your generous support in 2020!"
But the actual letter will read:
"Janet, thank you for your generous support in 2020!"
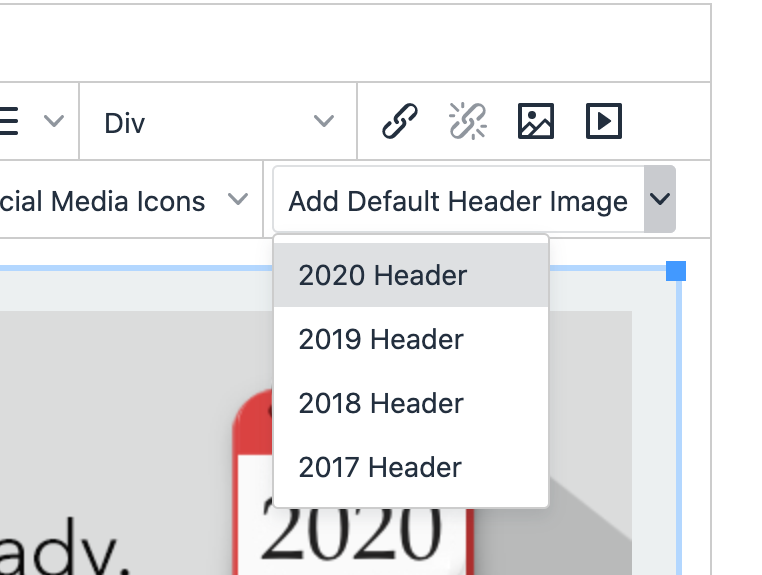
More about Logos, Images and Videos
You may include graphics and videos in your letter if your choose, but at a minimum you should include your logo.
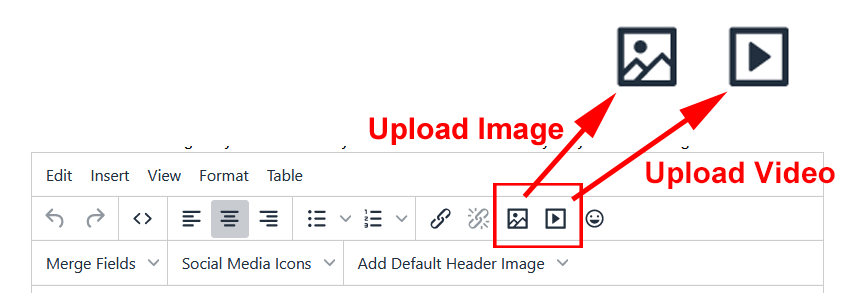
- Click the image icon to upload your logo or other pictures.
- Click the video icon to add a video.
After clicking on the desired icon, you will see a pop-up window.
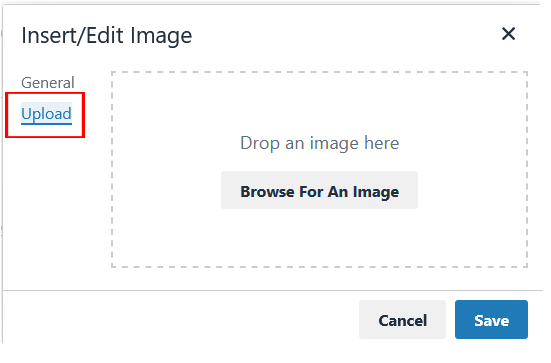
To add an image, click Upload. Drag and drop the image from your computer onto the box or browse your hard drive. Click Save.
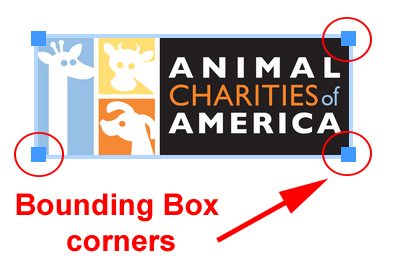
Once the image is uploaded to your letter, click on the image and grab a bounding box corner. Drag to resize if needed.
Images and logos should be formatted as jpg, png, or gif.
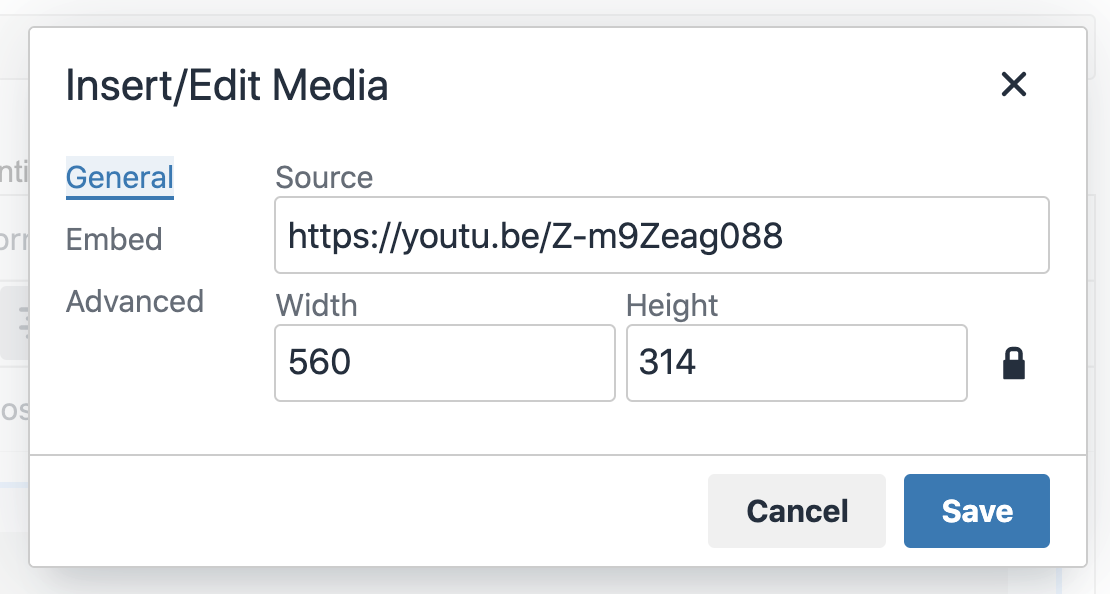
To add a video, paste the link to the video in the Source field. The width and height should be auto-filled. Click Save.
Once the video is shown on your letter, grab the corner of the video to resize if needed.
More about Social Media Icons
You may incorporate Social Media Icons in your letter.
If you use an icon you should also link that icon to your social media page.
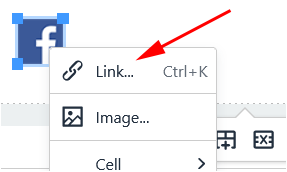
To link the icon to your social media page, in the letter, select the icon.
Using your mouse, right click the icon and click on the chain link icon.
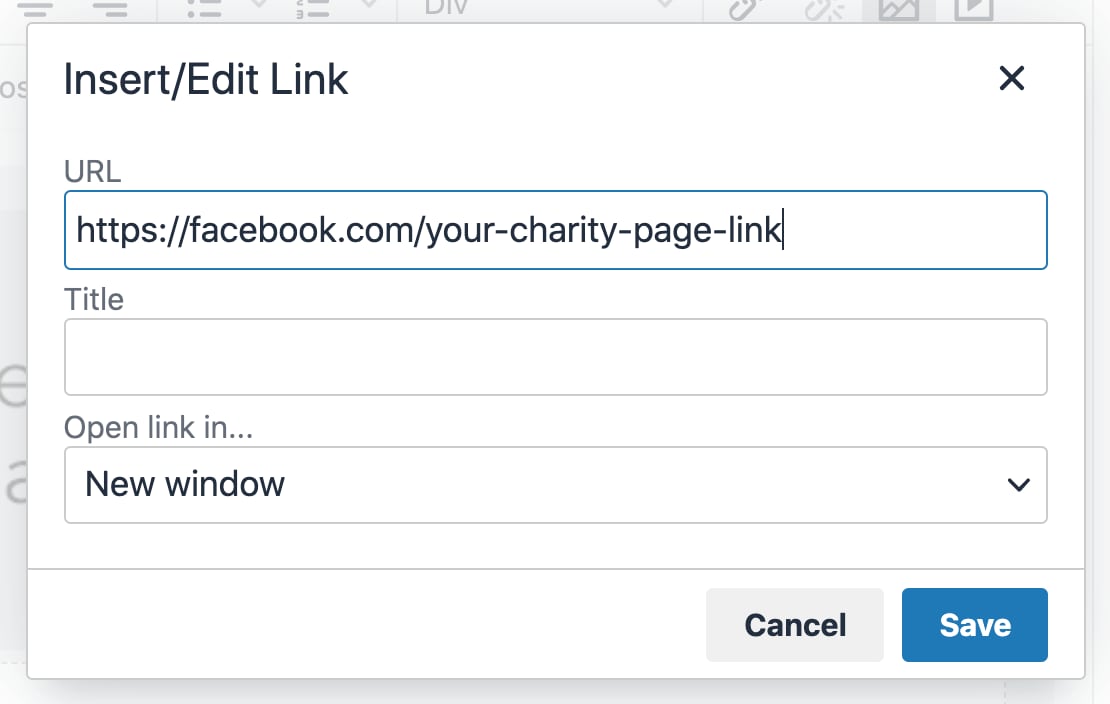
Enter the full URL to your social media page in the first input field. Click Save.
Special Handling Required: A Note about Form and Payment Type
At this time, GiveDirect has no way to differentiate between tax-deductible and non-tax-deductible gifts, or payments that include both contributions and services.
If you use payment forms other than standard donation forms, you may find that the Batch Send feature is not going to be feasible for you. For example, if you use an invoice payment form or other type of service payment form or an event registration form where some portion of the ticket fee is not tax-deductible, then you may not want to use the Batch Send feature.
If your organization collects payments that fall into one of these categories, sending donation statements individually to donors who do not need special handling might be your best option. Please consider carefully whether the Batch Send will work for your organization.